
- Why Ditch Monthly Fees? The Case for Local Security
- Choosing the Right Cameras: Why Reolink Leads the Pack
- Setting Up Your Local NVR: The Brain of Your System
- Integrating Home Assistant for Smarter Automation
- Remote Access Without the Cloud: VPNs and Secure Tunnels
- Motion Detection, Alerts, and Storage Optimization
- Related from our network
- Related Articles
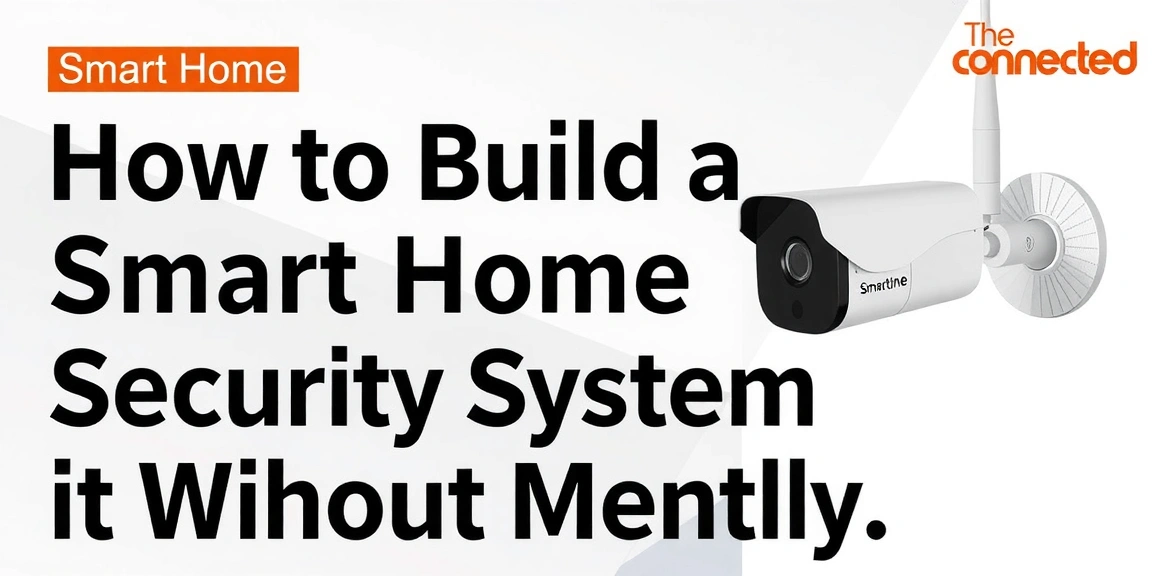
If you’ve ever shopped for a home security system, you’ve almost certainly been hit with the “monthly fee” pitch. Ring, SimpliSafe, Arlo — they all offer attractive hardware, but the real money is in their cloud subscriptions. Over a few years, those $10–$30 monthly fees add up to thousands of dollars. But here’s the truth: you don’t need to pay a single cent per month to have a powerful, reliable, and secure smart home security system. By choosing the right hardware and a bit of DIY know-how, you can build a fully local system that keeps your video footage on your property, gives you complete control, and costs nothing after the initial setup. In this guide, I’ll walk you through building such a system using Reolink cameras, a local NVR (Network Video Recorder), and Home Assistant for automation. This is the same setup I use in my own home, and it has saved me hundreds of dollars annually while giving me more features than any cloud subscription could.
Why Ditch Monthly Fees? The Case for Local Security
The biggest hidden cost in most smart home security systems is the subscription. A typical Ring Protect plan runs $3–$10 per month per camera. If you have four cameras, that’s $480 per year. Over five years, you’ve spent $2,400 — often more than the hardware itself. And you still don’t own your footage; it lives on someone else’s server, potentially subject to privacy policies you can’t control. By switching to a fully local system, you eliminate that recurring cost entirely. Your video data stays on your own hard drives, accessible only by you. You also gain reliability: if your internet goes down, a local system keeps recording. Cloud-dependent cameras often stop working entirely during an outage, leaving you blind exactly when you need visibility most.
Local security also means faster response times. With a local NVR, video processing happens on-device, so motion alerts arrive in milliseconds rather than being routed through a cloud server and back. You also avoid data caps and bandwidth throttling that can plague cloud-heavy setups. And let’s not forget privacy. Every time a cloud camera uploads footage to a remote server, that video passes through networks you don’t control. With a locally stored system, your footage never leaves your home unless you explicitly choose to share it. For families who take digital privacy seriously, this alone is worth the switch.
Finally, local systems are more future-proof. Subscription services can change their pricing, feature sets, or even discontinue support for older hardware at any time. Your local NVR and cameras will keep working as long as you want them to, independent of any company’s business decisions. That’s real ownership, and it’s the foundation of a smart home you can truly rely on.
Choosing the Right Cameras: Why Reolink Leads the Pack
When building a no-subscription security system, the cameras you choose matter more than anything. You need cameras that support local recording, offer reliable motion detection, and don’t require a cloud account to function. After testing dozens of brands, Reolink consistently stands out for its value, performance, and local-first philosophy. Models like the Reolink RLC-810A (a 4K bullet camera) and the Reolink RLC-520A (a 5MP turret camera) offer excellent image quality with PoE (Power over Ethernet) connectivity, meaning they get both power and data through a single cable. No Wi-Fi dropouts, no battery changes, no signal interference — just rock-solid wired performance.
Here’s a quick comparison of two popular Reolink models for DIY local security:
- Reolink RLC-810A (4K Bullet): 8MP resolution, 3840×2160, 100° field of view, built-in motion detection, person/vehicle detection, night vision up to 30 metres, PoE, IR cut filter. Best for front yards, driveways, and wide-open areas where detail matters.
- Reolink RLC-520A (5MP Turret): 5MP resolution, 2560×1920, 80° field of view, same smart detection features, compact vandal-resistant design, PoE. Best for covered patios, garages, and side yards where discreet form factor is key.
Both models support RTSP (Real-Time Streaming Protocol) and ONVIF, meaning they integrate seamlessly with any NVR and with Home Assistant. They also have local microSD slots as a backup recording option. One practical tip: always enable continuous recording on your NVR and use motion-triggered events for alerts. That way, you never miss a moment, but you can quickly find interesting events. With Reolink, you can also set up email alerts with snapshot attachments — no monthly fee required. For a typical 4-camera setup, you’re looking at a one-time cost of around $500–$700 for cameras and an NVR, compared to $240+ per year in subscription fees for a cloud system.
Setting Up Your Local NVR: The Brain of Your System
The centrepiece of a no-subscription system is the NVR (Network Video Recorder). This is the device that records, stores, and manages all your camera footage locally. You have two solid options: a dedicated hardware NVR from Reolink (like the RLN8-410 or RLN16-410) or a software-based NVR running on a PC, such as Blue Iris or Frigate. For most homeowners, the Reolink hardware NVR is the simplest route — it’s plug-and-play, supports up to 8 or 16 cameras, and includes a built-in PoE switch to power your cameras directly. That means no separate switch or injectors needed. The RLN8-410, for example, comes with a 2TB hard drive pre-installed, giving you about 30 days of continuous 4K recording from four cameras before overwriting older footage.
Setting up the NVR is straightforward:
- Connect the NVR to your router via Ethernet.
- Connect each PoE camera directly to the NVR’s built-in PoE ports using a single Ethernet cable for both power and data.
- Power on the NVR and follow the on-screen setup wizard to configure motion zones, recording schedules, and email alerts.
- Optionally, enable the NVR’s remote access feature through Reolink’s app (UID) — this uses a peer-to-peer connection, so footage never touches a cloud server.
One decision you’ll face is hard drive size. A 2TB drive is fine for most homes, but if you want longer retention or have more cameras, consider upgrading to a 4TB or 6TB drive. Reolink NVRs use standard SATA drives, so swapping one in takes about five minutes. Also, enable the NVR’s built-in motion detection and set it to only record when motion is detected if you want to stretch storage further. In my own setup, a 4TB drive stores about 60 days of continuous 4K footage from four cameras. That’s far more retention than any cloud subscription offers at the same price point.
Integrating Home Assistant for Smarter Automation
Cameras and an NVR give you a solid security system, but adding Home Assistant transforms it into a truly smart home ecosystem. Home Assistant (HA) is a free, open-source home automation platform that runs on a Raspberry Pi, an old PC, or a dedicated device like the Home Assistant Green or Yellow. By connecting your Reolink cameras to HA, you can trigger automations based on motion events, control lights, locks, and alarms, and even use AI-powered detection through add-ons like Frigate or the Google Coral TPU. Best of all, everything stays local — no data leaves your network.
Here’s how to integrate Reolink cameras with Home Assistant:
- Install the Reolink integration from the HA add-on store — it will auto-discover your cameras on the local network.
- Configure each camera’s RTSP stream for live viewing and recording snapshots on motion.
- Use the HA automation engine to trigger actions: for example, turn on front porch lights when the front camera detects a person after sunset.
- Enable person and vehicle detection in the Reolink camera settings, then expose those events to HA as binary sensors. You can then send push notifications to your phone only when a human is detected, ignoring cars or animals.
One of my favourite automations uses HA to lock the back door if motion is detected in the backyard while I’m asleep. It’s simple, effective, and costs nothing to set up. You can also integrate HA with Alexa or Google Assistant for voice control — just remember that voice assistants do use cloud services, so keep that in mind if privacy is a top concern. For advanced users, adding Frigate with a Google Coral TPU gives you very fast, accurate person, animal, and vehicle detection entirely on your local hardware, without any cloud calls. It’s one of the most powerful upgrades you can make to a DIY security system.
Remote Access Without the Cloud: VPNs and Secure Tunnels
Many people assume that to check their cameras while away from home, they need a cloud subscription. That’s not true. With a local NVR and a bit of networking know-how, you can securely access your cameras from anywhere in the world without paying a monthly fee. The most straightforward method is using the Reolink UID (Unique ID) feature, which creates a secure peer-to-peer connection between your phone and your NVR without passing through any cloud server. The connection is encrypted, and no video data is stored on Reolink’s servers. Simply install the Reolink app, scan the UID QR code from your NVR’s settings, and you’re connected.
For a more robust and privacy-focused solution, set up a VPN (Virtual Private Network) on your home network. A VPN server running on a Raspberry Pi or your router lets you securely tunnel into your home network from anywhere. Once connected, you can access your NVR’s web interface or the Reolink app as if you were sitting at home. OpenVPN and WireGuard are both excellent, free options. WireGuard is faster and simpler to set up, and it has native apps for Android and iOS. This method also gives you access to your entire home network, not just your cameras — perfect for controlling smart home devices remotely.
Another option is using a reverse proxy with SSL and authentication, like Nginx Proxy Manager. This is more technical but allows you to access specific services (like your NVR’s web interface) through a secure, password-protected URL. However, I only recommend this for advanced users because exposing any device directly to the internet carries risks. For 99% of homeowners, the UID method or a simple WireGuard VPN is secure, easy to set up, and keeps your footage private. Either way, you get full remote access with zero ongoing costs.
Motion Detection, Alerts, and Storage Optimization
Getting alerts that matter is crucial for a security system you actually want to live with. The last thing you need is your phone buzzing every time a leaf blows past a camera. Reolink cameras have excellent on-device motion detection that can distinguish between people, vehicles, and general motion. You configure these settings directly on the NVR or in the camera’s web interface. I recommend setting up “person detection” alerts for your front and back doors, and “vehicle detection” for driveway cameras. This dramatically reduces false alerts — in my experience, by about 80% compared to generic motion detection.
Storage optimization is also key to avoiding future costs. Here are my top tips for maximising your local storage:
- Use continuous recording with motion-triggered event tagging. This ensures you never miss footage, but you can quickly skip to events that matter.
- Set a recording schedule — lower resolution or frame rate during the day when lighting is good, and full quality at night when details are harder to see.
- Enable H.265 or H.265+ video encoding on your cameras (if supported). This reduces file size by up to 50% compared to H.264 with virtually no quality loss.
- Adjust motion zones to only cover areas where you expect activity — exclude public sidewalks or streets to avoid recording every passer-by.
- Set a retention policy: 14 days for continuous recording and 30 days for motion events is
Related from our network
- 5 Critical Components for a DIY AI Security Camera System Using Computer Vision (clearainews)
- Smart Home Gym Setup 2025: Tech-Driven Equipment Guide (wearablegearreviews)
- 2026 Editor-Tested Review: The 7 Best Smart Home Gym Equipment (pulsegearreviews)
Make Your Home Smarter
Device reviews, automations, and the deals worth grabbing.
Enjoyed this article?
Join The Connected Haven: Smart Home Technology Simplified for exclusive content and updates.
Subscribe Free