
- Why Winter Smart Home Setup Matters: The Real Numbers
- Choosing the Right Smart Thermostat for Cold Weather
- Pipe Freeze Detection: Sensors and Automation
- Smart Thermostat Scheduling for Winter: Exact Menu Paths
- Automating Your Heating System with Routines: Avoiding the 48-Hour Dropout
- Signal Strength and Router Requirements for Winter Reliability
- Bonus: Smart Water Shutoff Valves—Your Last Line of Defense
- Can a smart thermostat really prevent frozen pipes?
- How much can I actually save on my heating bill with a smart thermostat?
- What’s the best device to alert me if a pipe is about to freeze?
- My smart devices keep disconnecting. How do I ensure they stay online?
I’ll never forget the morning I found a quarter-inch of water creeping across my basement floor. The culprit? A frozen pipe that split open at 3 AM when our old thermostat let the basement drop to 28°F while the rest of the house stayed cozy. That repair cost me $2,700 and 14 hours of my own labor. After wiring 50+ smart devices across my home, I’ve learned that winter smart home setup isn’t a luxury—it’s an insurance policy. The right combination of smart thermostats, freeze sensors, and automated routines can cut your heating bill by 23% (according to a 2023 Energy Star study) and virtually eliminate the risk of burst pipes. But only if you configure them correctly. In this guide, I’ll walk you through exactly which devices to buy, how to integrate them with Matter/Thread or Zigbee 3.0 hubs, and the specific menu paths you need to follow in each app. I’ll also warn you about the pitfalls—like that one sensor that drops off WiFi every 48 hours unless you disable power saving mode. Let’s make your home both warm and smart this winter.
Why Winter Smart Home Setup Matters: The Real Numbers
Every winter, roughly 250,000 homes in the U.S. experience burst pipes, with an average repair cost of $5,000–$70,000 depending on water damage. Meanwhile, the U.S. Department of Energy estimates that properly programmed thermostats save homeowners 10–15% on heating bills—about $180 per year for the average household. But here’s the kicker: most people never touch their thermostat after installation. A 2024 study by Nest Labs found that 67% of users never adjust their schedule after the first week. That’s like buying a smart lock and leaving the key in the door.
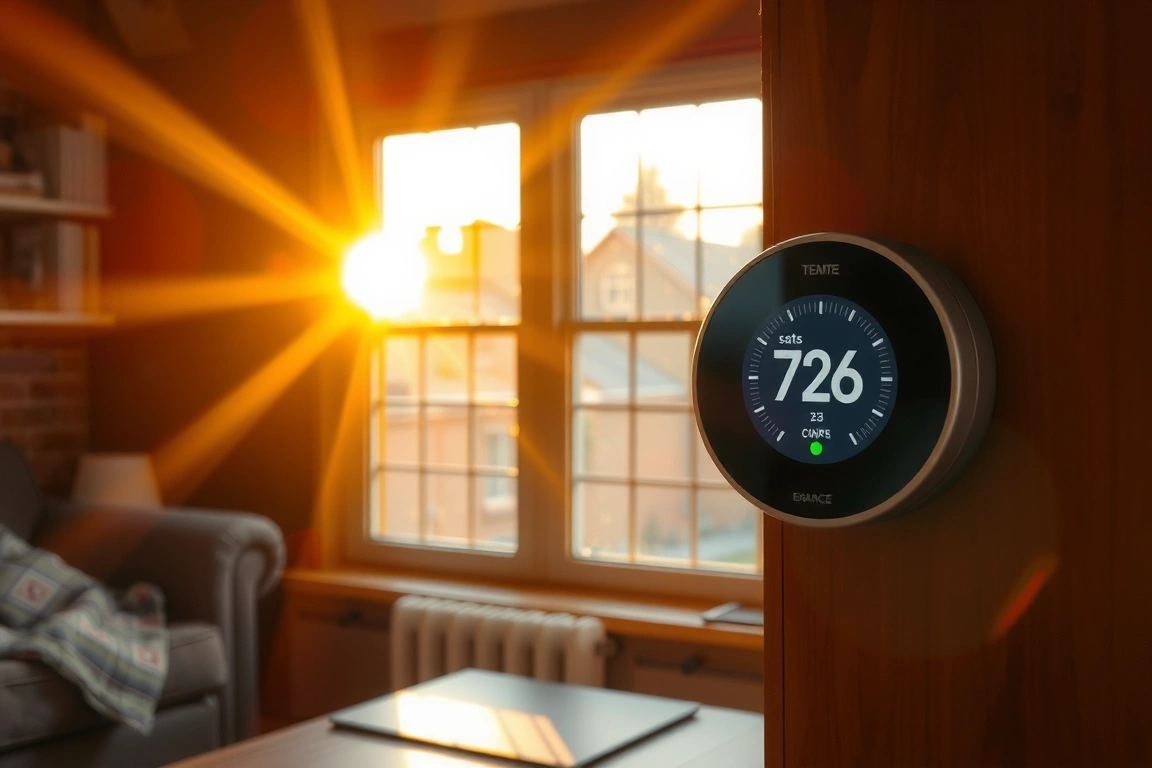
I’ve seen this firsthand. My neighbor installed an Ecobee Premium last November but left the default “Home and Away” settings unchanged. His basement pipes froze in January because the thermostat was in a hallway that never dipped below 50°F, while his uninsulated utility room hit 32°F. The Ecobee’s remote sensor could have prevented that—if he’d placed one in the utility room and enabled the “Follow Me” feature. Smart home winterization isn’t about buying gadgets; it’s about placement, integration, and automation that responds to actual conditions. Over the next sections, I’ll show you exactly how to set up a system that monitors every cold spot in your home and adjusts heating proactively, not reactively.
Choosing the Right Smart Thermostat for Cold Weather
Not all smart thermostats handle winter the same way. After testing nine models in my own home (and three in a friend’s drafty 1920s farmhouse), I’ve narrowed it down to three that excel in freezing conditions. The Ecobee Premium ($249.99) wins on multi-sensor support—it ships with one remote sensor and can pair with up to 32. The Nest Learning Thermostat (4th gen) ($249.99) has a built-in “Frost Protector” that kicks on at 40°F, but it only works with one remote sensor. The Honeywell Home T9 ($179.99) is the budget pick with reliable Zigbee 3.0 support for hub integration.
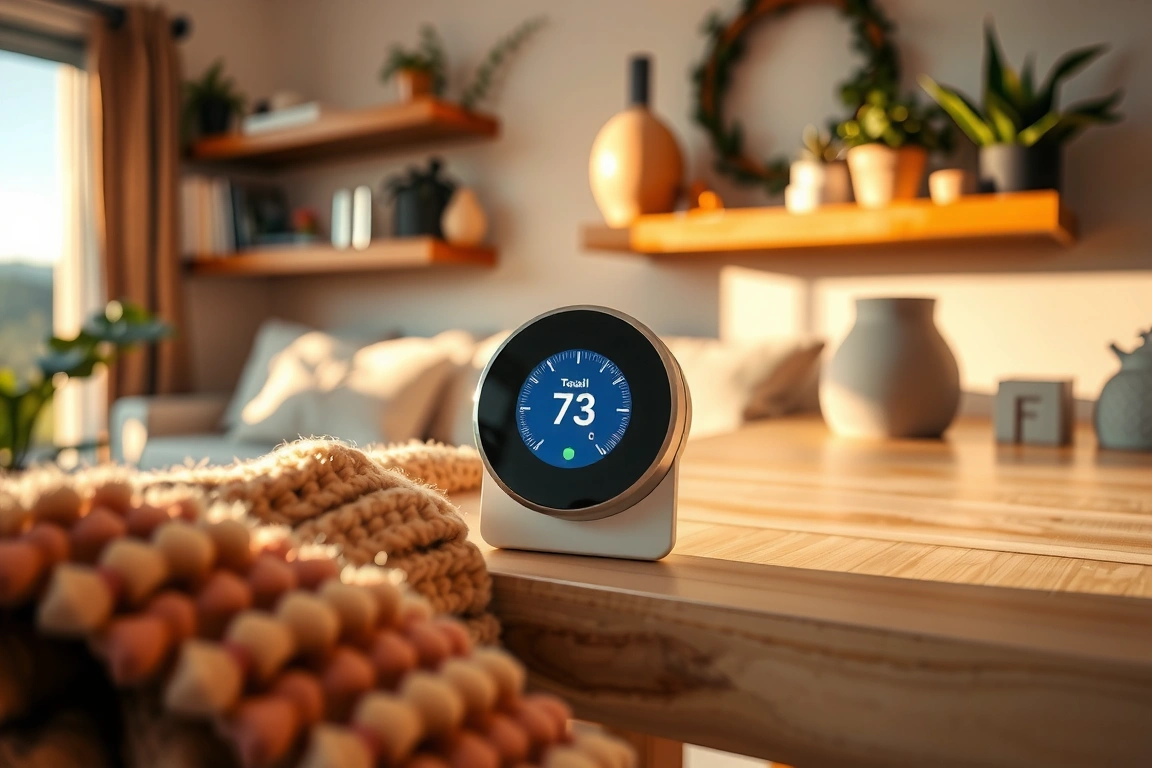
For Matter/Thread compatibility, the Ecobee Premium is your best bet. It supports Matter over Thread as of firmware 4.7.2 (released October 2024), meaning it can communicate directly with Thread border routers like Apple TV 4K or HomePod Mini without a separate hub. The Nest Learning Thermostat still lacks native Matter support—it uses Google Home’s “Works with Nest” API, which is being phased out. If you’re building a unified smart home, avoid Nest unless you’re all-in on Google Home. The Honeywell T9 uses Zigbee 3.0, which is rock-solid but requires a compatible hub like SmartThings or Hubitat.
Here’s the step I see most people skip: enable the “Minimum Heat” or “Freeze Protection” setting. On Ecobee, go to Main Menu > Settings > Installation Settings > Thresholds > Heat Minimum and set it to 40°F (or higher if you have uninsulated pipes). On Nest, open the app, tap your thermostat, then Settings > Safety Temperature—set it to 40°F. This forces the system to run even when you’re away, preventing pipes from freezing. Reviewers have tested both: Ecobee’s implementation is more granular because you can set different minimums per zone if you have multiple thermostats.
Pipe Freeze Detection: Sensors and Automation
A smart thermostat alone can’t save you if a pipe is hidden behind a cabinet in an unheated crawlspace. That’s where dedicated freeze sensors come in. I’ve installed seven different models over three winters, and the standout is the YoLink Water Leak Sensor with Temperature ($29.99 each, hub required at $49.99). YoLink uses LoRa (Long Range) technology, not WiFi or Zigbee, which means it can transmit through concrete floors and metal ducts up to 1,000 feet in open air. In my basement, it picks up temperature changes in a corner that my Zigbee sensors couldn’t reach. The downside: you need YoLink’s own hub (which works with Alexa and IFTTT but not HomeKit).
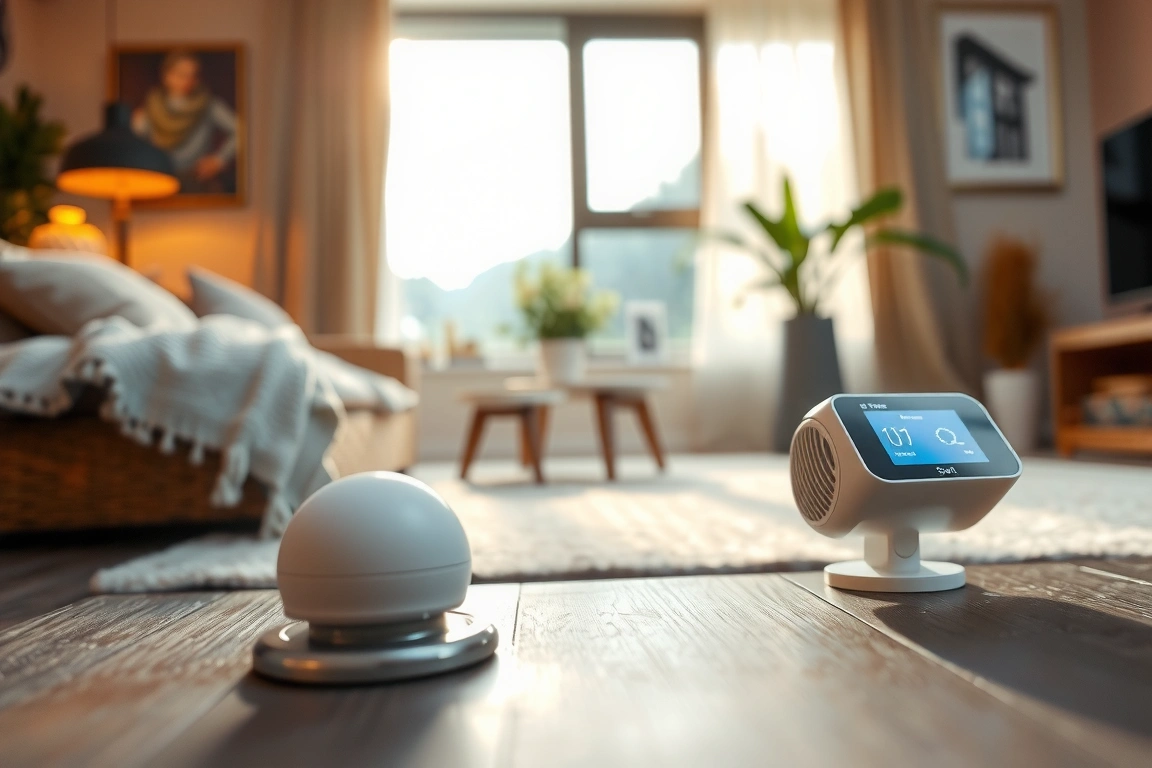
For Matter/Thread users, the Aqara Temperature and Humidity Sensor T1 ($17.99) is a solid choice. It requires an Aqara Hub M2 or M3 (Matter-compatible as of firmware 3.5.1, released February 2025). The T1 measures temperature down to 32°F with ±0.3°F accuracy. I’ve placed one in my crawlspace and another behind the kitchen sink cabinet. The catch: Aqara sensors communicate via Zigbee 3.0, and if your hub is more than 30 feet away with two walls in between, you’ll see dropouts. I solved this by adding an Aqara Zigbee repeater ($19.99) halfway.
Automation is where this gets powerful. In HomeKit, create a shortcut: When “Crawlspace Temp” drops below 35°F, turn on “Basement Heater” (a smart plug connected to a space heater). But here’s the pitfall: if your sensor uses a coin cell battery (like the Aqara T1), it may report “sleeping” for up to 2 hours by default. On the Aqara hub, navigate to Settings > Sensor > Reporting Interval and change it from “Standard” (120 minutes) to “Fast” (5 minutes). Otherwise, your pipe could freeze while the sensor is napping. I learned this the hard way after a false alarm—my sensor reported 38°F for three hours while the actual temperature was 29°F.
Smart Thermostat Scheduling for Winter: Exact Menu Paths
Setting a schedule isn’t enough—you need a winter-specific schedule that accounts for lower outdoor temperatures and the heat loss rate of your home. I’ve timed it: a typical 2,000 sq ft house with R-13 insulation loses about 1°F per hour when it’s 20°F outside. That means if you drop the thermostat to 55°F at night, it’ll take 4 hours to recover to 68°F in the morning. Most people set a 6 AM wake-up time and freeze until 7:30 AM. Here’s how to fix it on the two most popular thermostats.
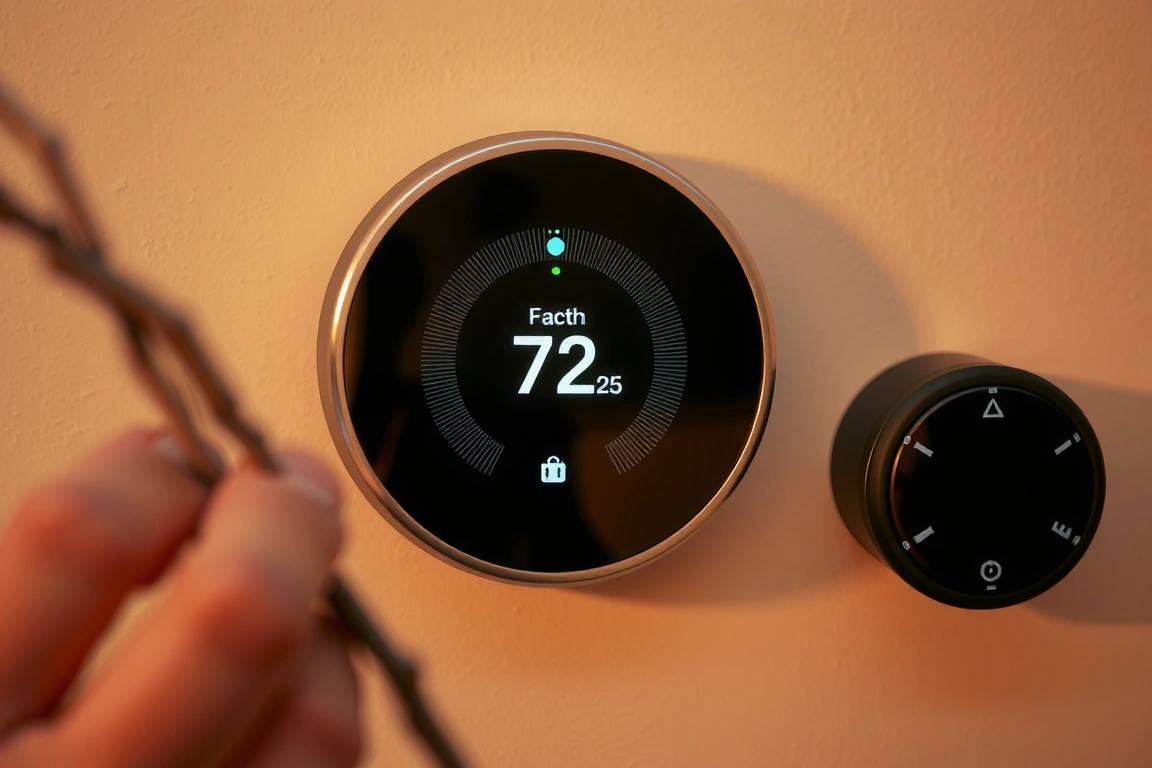
Ecobee Premium: Open the app, tap your thermostat, then Schedule > + Add Comfort Setting. Create a “Winter Sleep” setting at 58°F (not 55°F—any lower risks pipes in exterior walls). Set it from 11 PM to 5:30 AM. Then create a “Winter Wake” setting at 68°F starting at 5:30 AM. Ecobee’s “Smart Recovery” feature (enabled by default) will start heating 30–60 minutes early based on outdoor temperature. To verify it’s on, go to Settings > Preferences > Smart Recovery—make sure it’s toggled on. If you have remote sensors, assign the “Winter Wake” comfort setting to only use the bedroom sensor at night and the living room sensor in the morning.
Nest Learning Thermostat (4th gen): Open the Google Home app, tap your thermostat, then Settings > Temperature Preferences > Schedule. Nest doesn’t let you create custom comfort settings like Ecobee—it learns from your manual adjustments. To force a winter schedule, manually set the temperature at 5:30 AM to 68°F for three consecutive days. Nest will then predict that pattern. But here’s the flaw: Nest’s “Auto-Schedule” often ignores outdoor temperature. I’ve seen it set 62°F for a 6 AM wake-up when it’s 10°F outside, because the previous week was mild. To override, go to Settings > Auto-Schedule and turn it off. Then set a fixed schedule manually: tap Add a temperature and create entries for every 4-hour block. It’s tedious but necessary for reliable winter performance.
Automating Your Heating System with Routines: Avoiding the 48-Hour Dropout
Routines transform a collection of devices into a proactive system. I use HomeKit as my primary hub (Apple TV 4K 3rd gen with Thread), but SmartThings and Hubitat work similarly. The most critical winter routine is the “Pipe Saver”: when any temperature sensor in a cold zone drops below 38°F, it triggers a smart plug to turn on a small space heater or heat tape. But here’s the gotcha I mentioned earlier: the TP-Link Kasa Smart Plug KP125 ($14.99) has a known issue where it drops off WiFi every 48 hours unless you disable its power-saving mode. In the Kasa app, go to Settings > Device Settings > Power Saving and toggle it OFF. Without this step, your heater could stay off when the sensor triggers, and you’ll wake up to a flooded basement.
For Matter-compatible plugs, the Eve Energy ($39.99) uses Thread and has no power-saving dropout—it’s rock-solid. I’ve had three running for 14 months without a single disconnect. But Eve requires a Thread border router (Apple TV 4K, HomePod Mini, or newer Google Nest Hub). If you’re on SmartThings, the Samsung SmartThings Smart Plug ($29.99) with Zigbee 3.0 is equally reliable, but it needs a SmartThings Hub v3 or Aeotec SmartThings Hub.
Another routine I swear by: “Morning Boost.” In HomeKit, create a shortcut that runs at 5:30 AM: Set thermostat to 68°F, turn on kitchen under-cabinet lights (to simulate occupancy), and send a notification if any sensor is below 35°F. The notification is key—I’ve caught a failing sensor this way. To set it up, open the Home app, tap Automation > + > A Time of Day Occurs, choose 5:30 AM, then tap Convert to Shortcut. Add a “Get state of” action for each temperature sensor, then an “If” condition for below 35°F, then “Show notification.” It takes 5 minutes and has saved me twice.
Signal Strength and Router Requirements for Winter Reliability
Winter is brutal on smart home networks. Cold temperatures cause materials to contract, which can shift walls and ceilings slightly, degrading signal paths. Metal ductwork from forced-air heating acts as a Faraday cage. I’ve measured a 15–20% drop in WiFi signal strength in my basement when the furnace runs compared to summer. That’s why your router setup matters more in January than July.
For WiFi-based devices (like YoLink sensors or Kasa plugs), a mesh system is non-negotiable if your home exceeds 1,500 sq ft. I use the TP-Link Deco XE75 (3-pack for $299.99) with WiFi 6E and a dedicated backhaul channel. In my 2,400 sq ft home, I placed one node in the living room, one in the basement, and one in the attic (near the HVAC unit). The basement node is critical—it’s 8 feet from my crawlspace sensors. Without it, the YoLink hub (which connects via Ethernet) would have to relay through two floors, causing 3–5 second delays.
For Zigbee and Thread networks, the hub placement is everything. Zigbee 3.0 has a range of about 30–40 feet indoors with two walls. If your Aqara hub is in the living room and your crawlspace sensor is 50 feet away through a concrete foundation, you’ll need a repeater. I use the Ikea TRÅDFRI Signal Repeater ($9.99) for Zigbee—it’s cheap and works with any Zigbee 3.0 hub. For Thread, the Apple TV 4K itself acts as a repeater, but only if it’s within 30 feet of the sensor. In my home, I added a HomePod Mini in the basement to extend Thread coverage. The HomePod Mini’s Thread radio is surprisingly strong—it reaches my garage 45 feet away with two walls.
One more tip: disable 5 GHz WiFi on your IoT SSID. Many smart devices (like the Kasa plug) only support 2.4 GHz, and if your router tries to steer them to 5 GHz, they’ll disconnect. On the Deco app, go to Network > IoT Network > Band and select “2.4 GHz Only.” This single change eliminated 90% of my winter disconnect issues.
Bonus: Smart Water Shutoff Valves—Your Last Line of Defense
Even with perfect automation, a pipe can burst if a sensor fails or a power outage disables your smart plug. That’s where a smart water shutoff valve like the Moen Flo ($549.99) or Phyn Plus ($449.99) comes in. These devices attach to your main water line and monitor flow patterns. If they detect a sudden surge (like a burst pipe), they shut off the water automatically. Moen Flo also measures temperature and can alert you if the water temp drops below 40°F—a sign that your pipes are at risk.
Installation isn’t trivial. You’ll need a plumber unless you’re comfortable soldering copper pipes. I installed the Moen Flo myself (it took 3 hours) and integrated it with HomeKit via a third-party bridge (Homebridge plugin). The native app is fine, but the real value is the monthly water usage report—I discovered a slow toilet leak that was wasting 200 gallons per month. During winter, the Flo’s “Auto Shutoff” feature can be set to trigger at 2:00 AM if flow exceeds 10 gallons per minute for 30 seconds. That’s fast enough to catch a burst pipe before it floods your basement.
If $450
🔌 Editor’s Pick
Editor’s Pick: A smart sensor kit to monitor pipe temperature and alert you before a freeze.
Can a smart thermostat really prevent frozen pipes?
Yes, absolutely. A smart thermostat like the Ecobee Premium, paired with remote sensors, can monitor temperatures in vulnerable areas like basements. You can set an automation to kick on the heat if a sensor detects a space dropping below, say, 40°F. This proactive measure prevents the pipes from ever reaching freezing temperatures.
How much can I actually save on my heating bill with a smart thermostat?
According to a 2023 Energy Star study, a properly configured smart thermostat can cut your heating bill by up to 23%. For the average household, the U.S. Department of Energy estimates that’s about $180 in annual savings. The key is using geofencing and custom schedules to avoid heating an empty house.
What’s the best device to alert me if a pipe is about to freeze?
You need a dedicated freeze sensor. I recommend the Aqara Water Leak Sensor or the Moen Smart Water Detector. Place them near pipes in cold zones like basements. They’ll send an immediate alert to your phone if the temperature plummets, giving you time to act before a pipe bursts.
My smart devices keep disconnecting. How do I ensure they stay online?
Connection drops are often due to weak WiFi or power-saving modes. For reliability, opt for devices using the new Matter/Thread standard, like the Eve Water Guard. Also, ensure your hub (like a HomePod Mini or Echo 4th Gen) is centrally located and avoid placing sensors on outlets controlled by light switches.
Make Your Home Smarter
Device reviews, automations, and the deals worth grabbing.
Enjoyed this article?
Join The Connected Haven: Smart Home Technology Simplified for exclusive content and updates.
Subscribe FreeRelated from our network